First posted 11/20/2022
The Homelab Hiatus is over! I renewed my CCNP last month and have been messing around with IPv6-only networks both at work & at home because Uncle Sam says it’s a good idea. A few weeks ago I thought it’d be fun to dust off the old Cisco ASA 5512-x from my first-ever kd9cpb.com homelab writeup to see how well the ASA’s NAT64 for IPv6-only devices accessing IPv4 things works when paired with Cloudflare’s free DNS64 offering. Only problem is my home ISP doesn’t support IPv6 yet, so I had to add an extra step of creating a free tunnelbroker.net account paired with my Mikrotik RB4011 for IPv6 internet access.
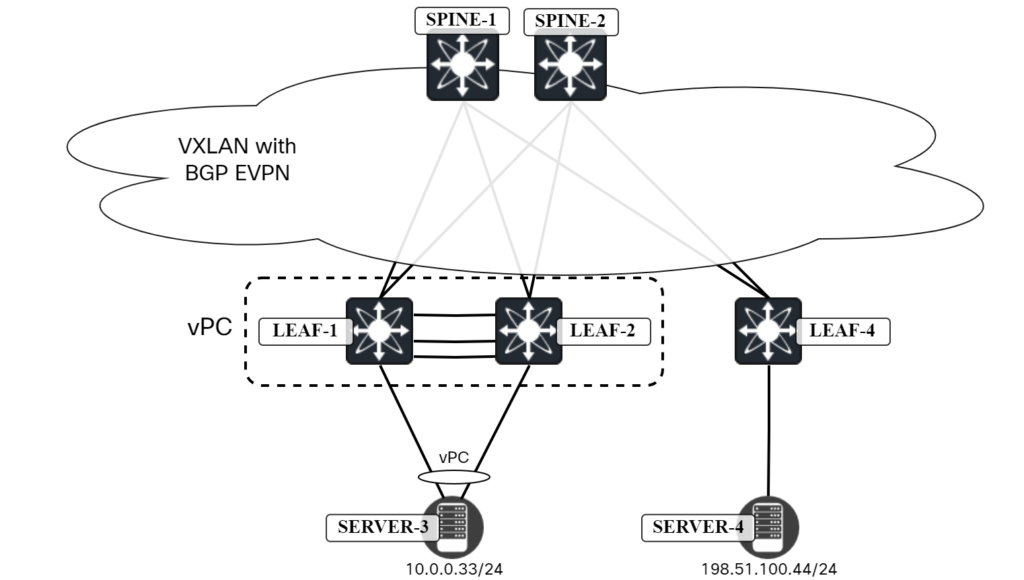
Even with all this added complexity, I’m really happy with how well DNS64/NAT64 is working for my IPv6-only devices when browsing the web. Sites that are notoriously IPv4-only like Twitter are loading up without any difficulty whatsoever. The below topology is far from perfect, but if you’re looking to get familiarized with how to bring a very legacy IPv4-only Cisco ASA environment into the IPv6-only world without upset end-users, this might just work for you too:

Step 1 (optional if your ISP supports IPv6) – Setup a tunnelbroker.net tunnel on a device other than Cisco ASA
As illustrated by Keith O’Brien and Cisco’s community forums about a decade ago , Cisco ASA does not support tunnelbroker.net IPv6 tunnels. But that’s perfectly fine; fortunately I have a Mikrotik RouterOS device on the border of my homelab, which supports a shockingly easy configuration to get IPv6 tunneling via Hurricane Electric up. Simply sign up for an account at tunnelbroker.net, request a /48 (both because it’s cool to get that many addresses for free, and because it makes life easier when creating subnets going towards the Cisco ASA), and apply a config similar to the following on your Mikrotik device:
/interface 6to4
add comment="Hurricane Electric" !keepalive local-address=149.75.x.x mtu=1280 name=sit1 remote-address=184.105.x.x /ipv6 address
add address=2001:470:1f10:17::2 advertise=no interface=sit1
add address=2001:470:c648:1:: advertise=no interface=bridge /ipv6 firewall filter
add action=accept chain=forward dst-address=2000::/3 in-interface=bridge out-interface=all-ethernet src-address=2001:470:c648:2022::/64 /ipv6 route
add distance=1 dst-address=2000::/3 gateway=2001:470:1f10:17::1
add distance=1 dst-address=2001:470:c648:2022::/64 gateway=2001:470:c648:1::2
If you search for “Mikrotik tunnelbroker.net”, you’ll find many other example configs that should work just fine. I’m not going to post my entire RB4011’s config here, but I can assure you it’s as close to factory default as possible with some minor additional security tweaks. The important thing to note in my homelab is I’m doing a static route for 2001:470:c648:2022::/64 towards the Cisco ASA’s IP address of 2001:470:c648:1::2. Without that static route and Hurricane Electric’s generous policy to give anyone using tunnelbroker.net a full /48 of IPv6 addresses, this lab would be much sloppier 
After you get the tunnelbroker.net config into the Mikrotik, I would recommend doing a quick ping to Cloudflare’s DNS64 servers at 2606:4700:4700::64 and 2606:4700:4700::6400 for good measure. Note how I set “advertise=no” on the Mikrotik’s interfaces; this is because I don’t want any universe where my Samsung SmartTV pulls a SLAAC IPv6 address and unsuccessfully tries to access Netflix via the tunnelbroker.net tunnel. It’s well documented that Netflix doesn’t play well with IPv6 tunnels, so be careful!
Step 2: Configure NAT64 on the Cisco ASA
Now that you have a working tunnelbroker.net setup, let’s go ahead and configure NAT64 on the Cisco ASA, using the standard /96 allocation for NAT64. I’m starting off with the original config I wrote up for this ASA years ago at https://github.com/kd9cpb/homelab/blob/main/lab1/condoasa because I’m lazy and figured this would be a great way to illustrate even a dated ASA config can be used to go IPv6-only!
!
interface GigabitEthernet0/0 nameif outside security-level 0 ip address dhcp setroute ipv6 address 2001:470:c648:1::2/64 ipv6 enable
!
interface GigabitEthernet0/3 nameif v6testbed security-level 100 no ip address ipv6 address 2001:470:c648:2022::1/64 ipv6 enable
!
object network inside_v6 nat (v6testbed,outside) dynamic interface
object network outside_v4_any nat (outside,v6testbed) static 64:ff9b::/96
!
ipv6 route outside ::/0 2001:470:c648:1::
!
http 2001:470::/32 v6testbed
ssh 2001:db8::/32 v6testbed
ssh 2001:470::/32 v6testbed
I was a bit surprised at just how simple & easy NAT64 would be to configure on ASA considering I couldn’t really find a good example of this online. “show xlate” is your friend if you need to tshoot NAT64, you should see ample translations upon firing up the web browser, just make sure you have a good DNS64 per the next step before tshooting!
Step 3: Get your IPv6-only devices to use Cloudflare’s DNS64
This is perhaps the easiest part of the whole setup, but also the easiest to forget. Cisco ASA does not support RDNSS, so you’ll either need to setup your own DHCPv6 server or manually throw in a DNS64 server IP address on the IPv6-only devices. I ended up simply adding the 2606:4700:4700::64 and 2606:4700:4700::6400 addresses statically on my IPV6-only devices since it’s just a homelab, even though that’s a lot more typing than 1.1.1.1 in the IPv4 world. DNS64 is a very interesting technology and I’d highly recommend searching for DNS64 on YouTube, there’s quite a few people out there who can explain it better than I at this time.
Step 4: Test away!
Now that you have a good NAT64 config on the Cisco ASA, a good DNS64 server defined on your IPv6-only devices, and either an IPv6 WAN connection or tunnelbroker.net tunnel, you should be able to access most of the internet without any issues. The only caveat is you need to either be accessing resources via DNS names or IPv6 IP addresses; typing in an IPv4 address into a web browser will get you nowhere on the IPv6-only devices using DNS64/NAT64.
Those of you who have seen my previous homelab write-ups may be thinking “Man, Tom really took the easy way out on this one, why aren’t there more screenshots? Why isn’t he speaking about why things were done the way they were? What gives?” All of these questions are valid, and to be honest this homelab writeup is a bit sub-par compared to previous kd9cpb.com posts. That’s because this DNS64 + NAT64 + Tunnelbroker.net setup is a prerequisite for a way more entertaining homelab idea I’ll be writing about next week. I didn’t want to clutter up that post with all this background information about the DNS64/NAT64 setup, hence why you’re seeing it all here. Check back soon for the more entertaining IPv6-only homelab, it should be up within the next 7 days, and proudly features everyone’s favorite operating system released in 2001…
You’ve reached the end of the post! Click here to go back to the list of all Homelab posts.
You should also know I use Amazon Affiliate links to defray the cost of otherwise ad-free webhosting
The post Cisco ASA NAT64 + Cloudflare DNS64 + Mikrotik tunnelbroker.net IPv6-only fun appeared first on Tom Costello – KD9CPB.


